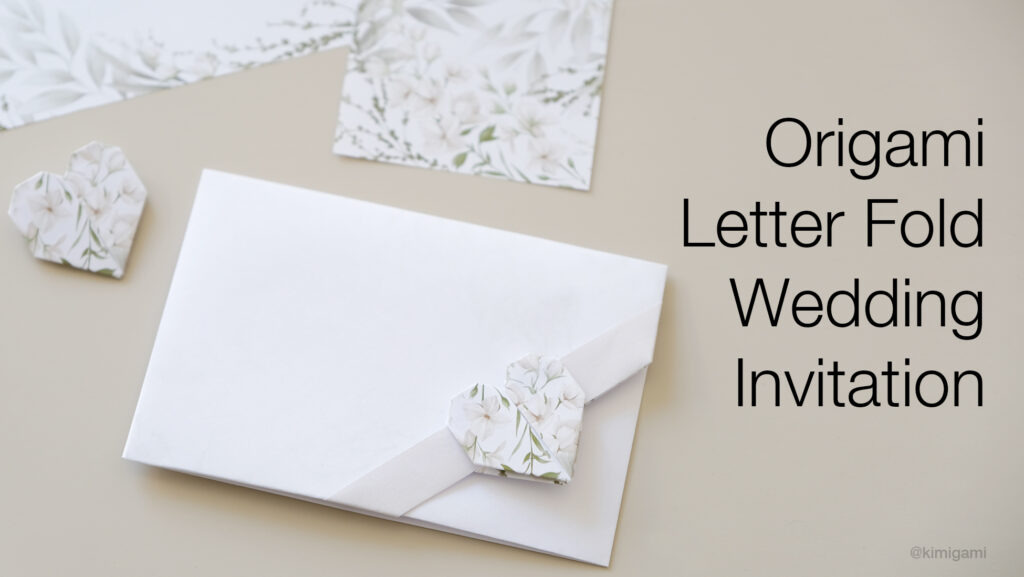
Hello everyone, I wanted to take a moment to share what I’ve been up to this past week. I was tasked with designing a wedding invitation, and I’m excited to show you the final product. I also want to show how you can make it. It’s a letter-fold invitation folded from A4 paper.
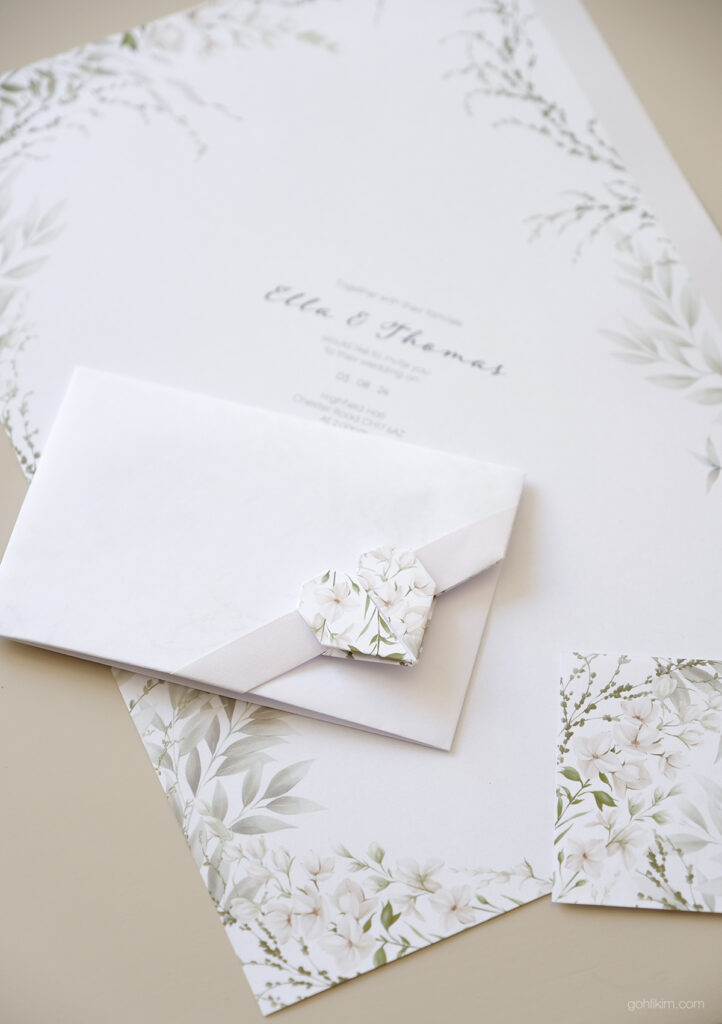
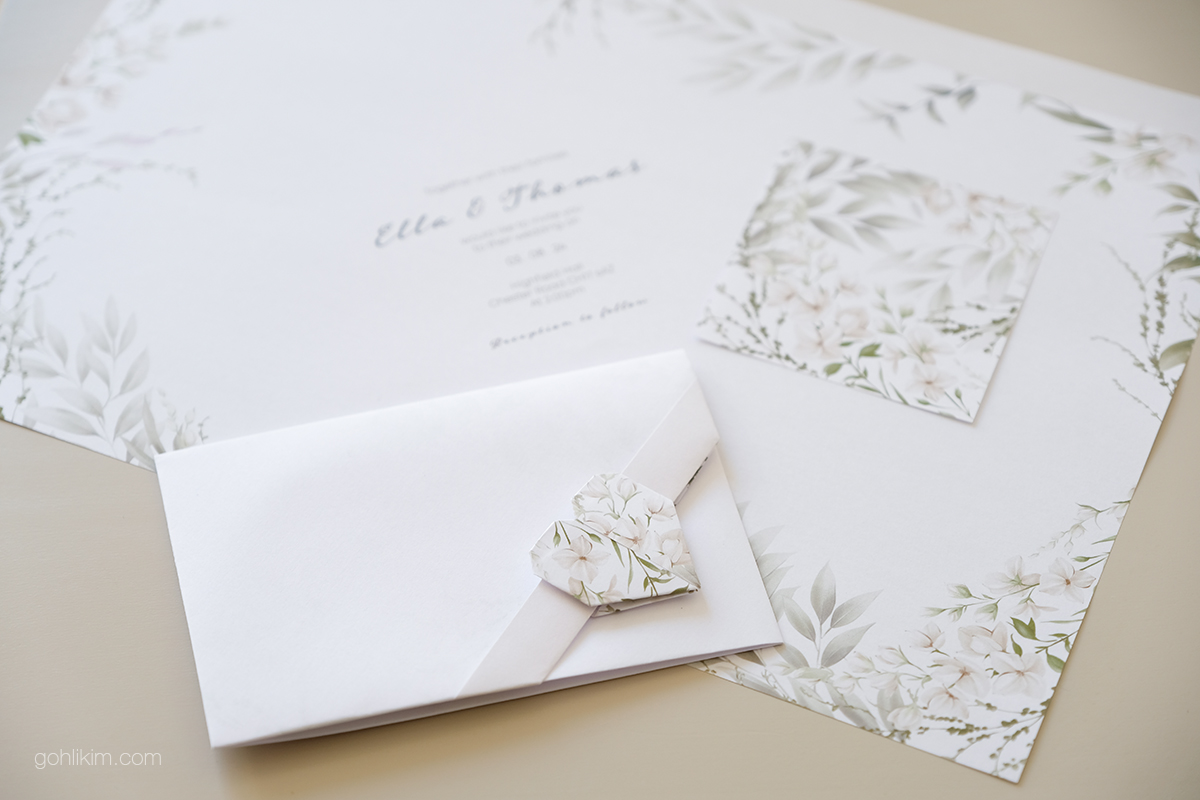
To start, all you need is an A4 paper and access to a printer. The invitation text is printed directly onto the paper with the floral border design, saving both time and money. Once printed, the paper is folded using a series of simple origami techniques.
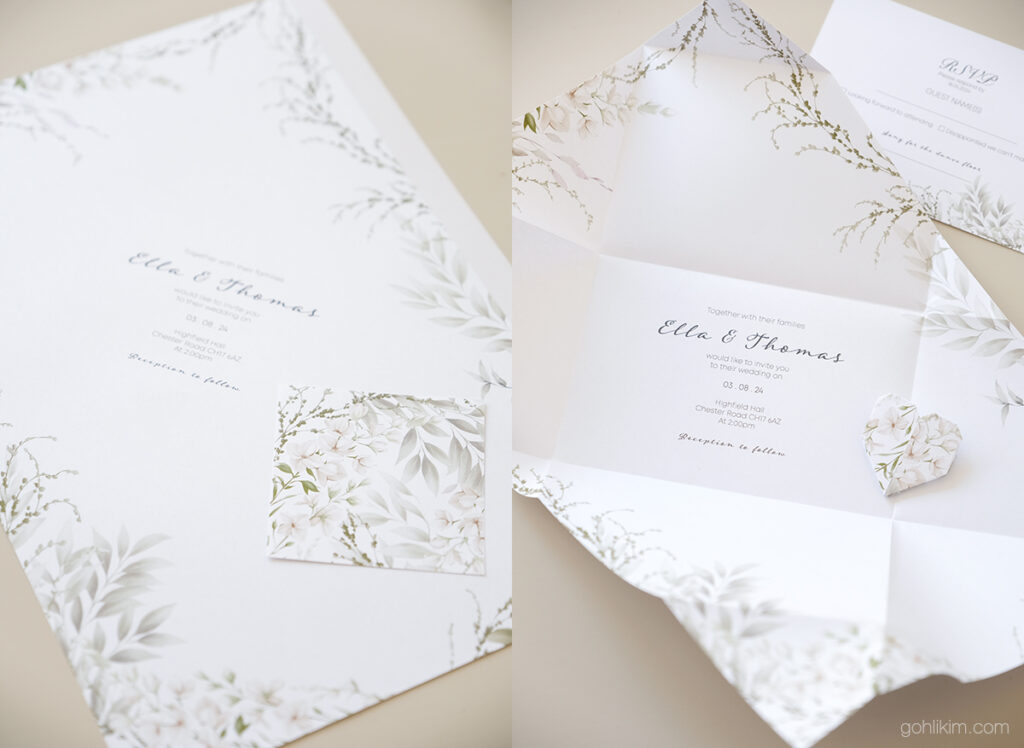
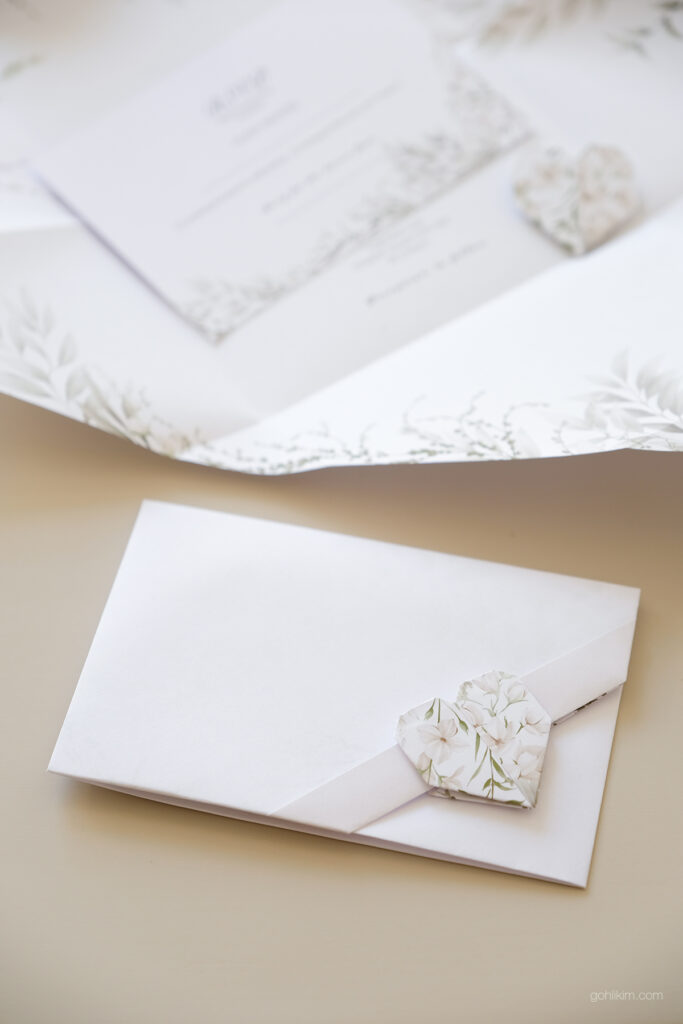
First, the paper is letter-folded into a neat parcel, creating a pocket to hold additional inserts such as RSVP card or extra information about the event. Then, the outside is adorned with an origami heart, adding a touch of romance to the design. The best part is no glue is required, making this invitation both eco-friendly and hassle-free.
The result is a beautifully crafted invitation that not only captures the attention of your guests but also reflects the love and care you’ve put into planning your special day. It’s unique, it’s personal, and it’s sure to leave a lasting impression on everyone who receives it.
I’ve created a downloadable template for the text placement on an A4 paper. Simply click the link below to access it. (Note: This template is only for text placement. The floral border design seen in the pictures is not included as it was purchased from Etsy and cannot be shared for download. You can find similar design for sale on Etsy at a very affordable price.) Ensure that there is a 1.5 cm space on the right side because that section needs to be folded behind. Set the print settings to – ‘paper size: A4 borderless.’ Load paper and hit print, and that’s it. No trimming is needed; simply fold it straight from the A4.”
I’ve put together a step-by-step Youtube video tutorial to guide you through the folding process. Click on the image or button to watch. I hope you find this post helpful and consider giving this unique DIY project a try for your special day.