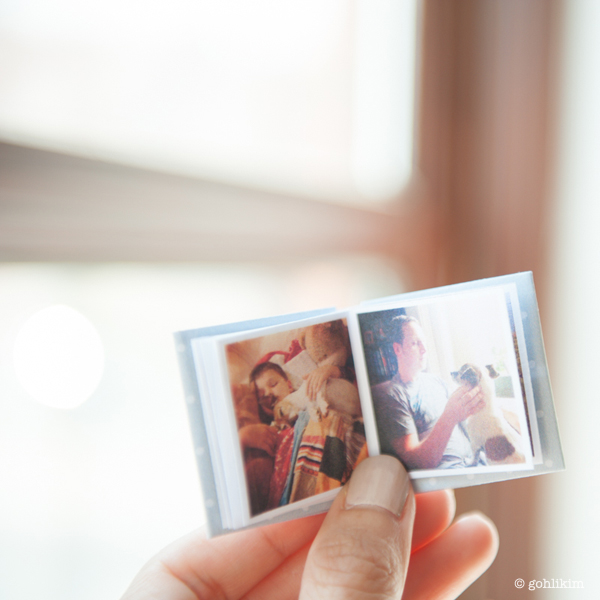
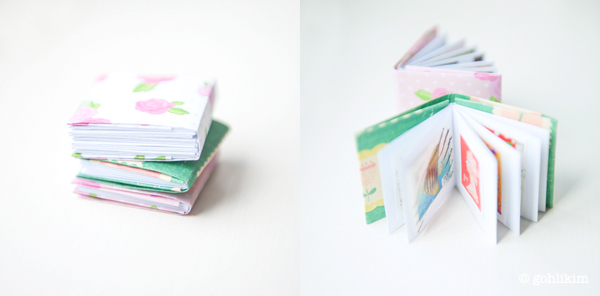
Hello friends, today i want to show you how to make this cute mini 12 pages instagram photo book, it’s great for personal collection or give it to someone as a present. What i like about this little book is, it’s non adhesive and no sewing. All you need is a paper, a small piece of scrapbook or chiyogami paper for the cover, a ruler and a craft knife.
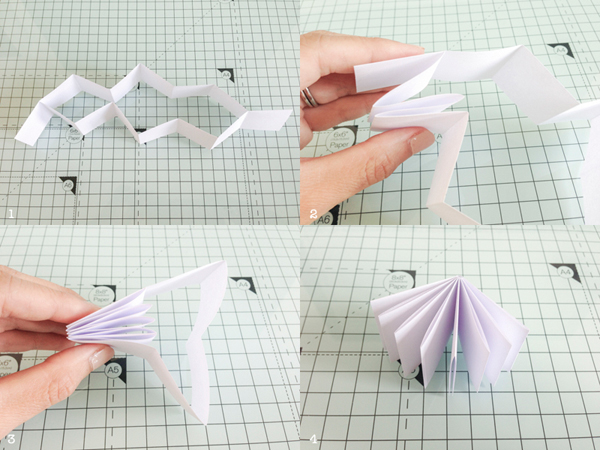
Cut a piece of 11″ x 2.75″ paper from an A4 or Letter size paper. Fold the paper in half lengthwise, open it up and fold in the other direction in half, then accordion fold to create 8 panels. Unfold the paper, (you will see the fold lines as the sketch below) use your craft knife to cut along the vertical fold between 6 inner panels and mountain fold the paper in half lengthwise. (see photo 1) Accordion fold the paper (photo 2 and 3) to create the pages. Note: the last page ends up being a bit less in width than the pages, but it won’t be noticeable after we put the cover on.

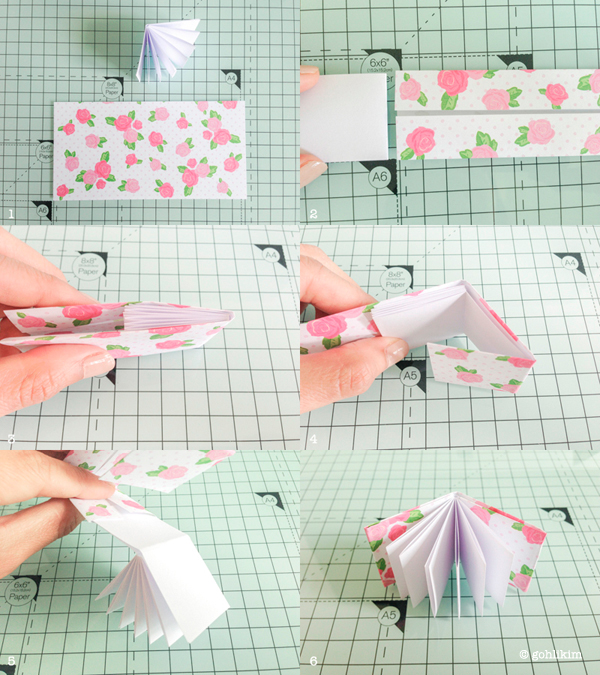
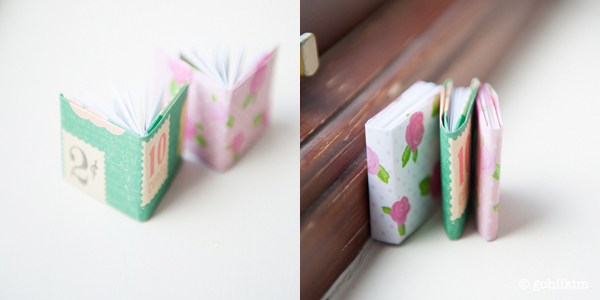
For the cover, cut a piece of 5.75″ x 3″ scrapbook paper, or color paper (photo 1 below). Fold the top and bottom in lengthwise to meet in the middle, make sure the cover is a bit taller than the pages (photo 2). Wrap the cover around the pages, align it so you have equal length on each side (photo 3) and fold the flap over (photo 4). Repeat the same on the other side. Then insert the end pages inside the cover flaps (photo 5). Here, you have a 1.5′ x 1.5″ mini book! (photo 6)
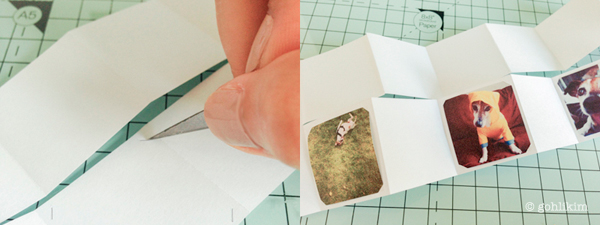
To add photos to the pages without using glue, i cut a diagonal slit at all 4 corner of the pages so i can tuck in the photo (see image below). Another option is to print the image directly onto the paper before folding. I’ve created this template (download) in Adobe Illustrator, you can easily insert your images to the space indicated in the file. (You need to know how to use Adobe Illustrator)
So that’s it! Below is the mini instagram photo book of my Jackie. I created the cover design, if you like to use it, you are welcome to download this freebie PDF file. :)
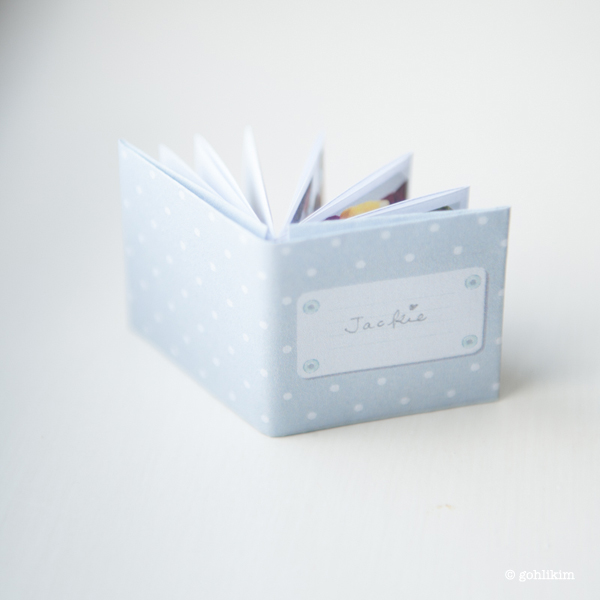
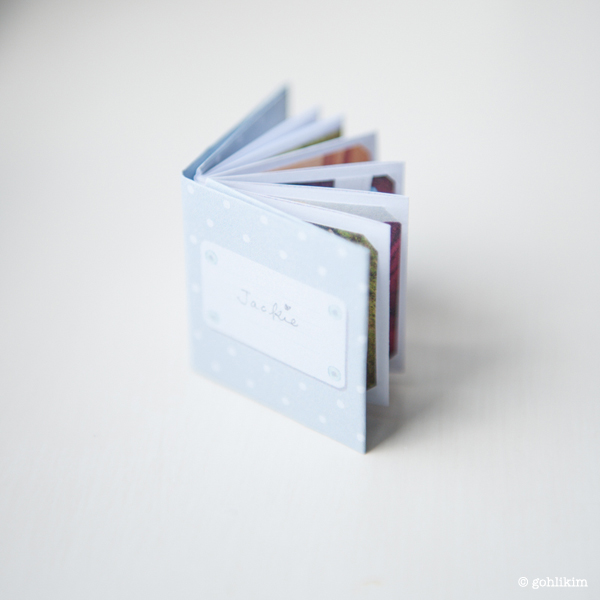
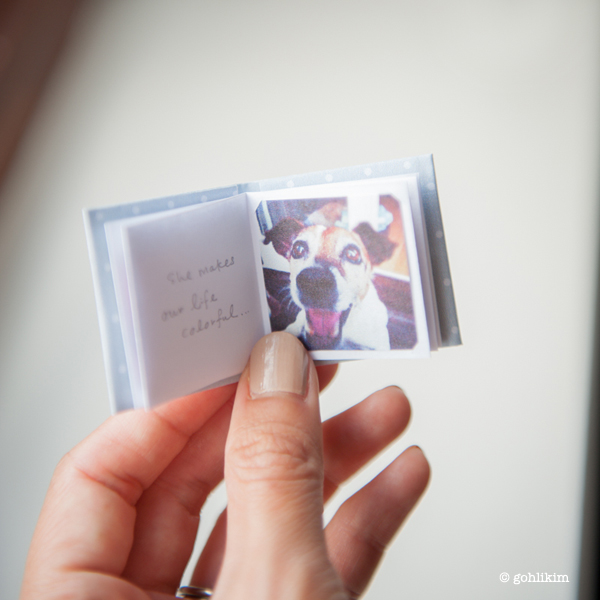
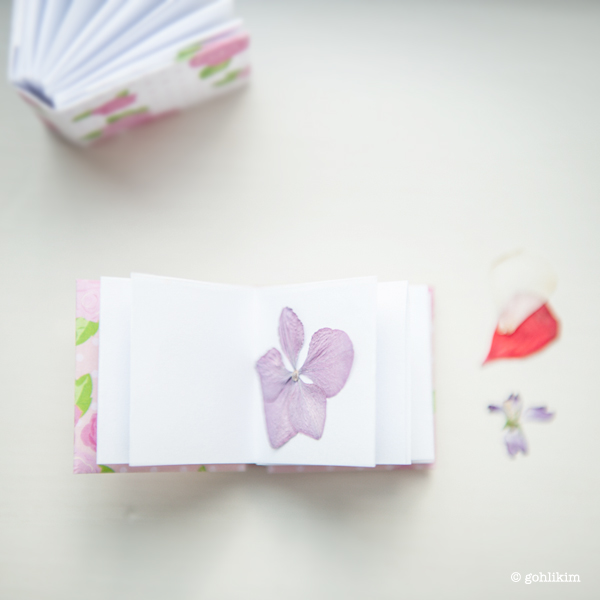
You could use this mini book for other things as well, like a stamp book or for flower petal collection, poem, little journal, drawing… anything you could think of that’s small enough to fit. Total adorableness! :)

This is great! I’ve made books with a similar fold, but never with so many pages or with such a sweet little cover. Well done!
Thank you (^。^)
Well these are simply adorable. So tiny & perfect! I can’t believe you didn’t use any glue to put this together – very ingenious. Thanks for sharing!
Thank you m.e. I love your miniature egg shell bedroom sculpture, they are amazing! I love all things miniature as well. :)
I am proud of you LiKim
Thanks Jocelyn. :)
Love it, saw this a few minutes ago and made one already :)
Hannah.
http://surfjewels.tumblr.com/
Saw your mini book, really nice! And i love the heart shape paper you used on the cover. ♥
Omg these are brilliant i dont have any scissors and they still worked! Used stickers for front cover and named my book minecraft to build book. Defonatley going to recomend. Sorry comment is so long i dont mean to be a bore
I’m glad it works. Stickers are a great idea!
I love this so much!! But I’ve been trying to figure out for so long now how you made the thicker version? Did you just use a longer strip of paper, or did you make several and somehow attach them together?
Thanks so much!!
Hi Kristi, the thicker version is made from several of the small one but i have to use glue. I just added to my picture thought they look good together. :)
I really want to make the thicker one (in the last picture) is there a tutorial for that one somewhere? I love this little book tutorial , so C U T E ! (I made it two seconds after I saw the photos!
Thanks so much for the toot and also for the freebies!!
You’re welcome Sheree. For the thicker one, you make 4 or five of the page (pic 1-4) and glue them together. Cover size will be the same just wrap around the spine, should have plenty to fold back inside the front and back cover.
I read this and just had to make one – voila! Dang if this isn’t the cutest thing. I too have made the simpler one with fewer pages from 8×11 sheet but love this mini size. I wrote the instructions and dimensions inside this one so I will have it for future reference. Thanks so much. I can see myself making lots of these in the days and weeks to come.
I’m so glad to hear you enjoy this little mini book :)